Docs Menu
- Introduction to Syncloop
- Quick Start Syncloop
-
API Developer Guide
-
middleware
-
pub
- adapter
- authorization
- client
- collection
- date
- docList
- file
- graphQL
- io
- json
- jwt
- math
- platform
- security
- server
- service
- specs
- sql
- string
- bytesToHexString
- bytesToString
- compare
- compareStrings
- concat
- decodeBase64
- decodeHTML
- encodeBase64
- encodeHTML
- equals
- equalsIgnoreCase
- escapeSQL
- fromXML
- htmlDecode
- htmlEncode
- indexOf
- isAlphanumeric
- isBlank
- isDate
- isEmpty
- isNumber
- length
- lookupDict
- maskString
- messageDigest
- messageFormat
- NullOrWhiteSpc
- objectToString
- padLeft
- replace
- rightPad
- stringConcat
- stringIndexOf
- stringToBytes
- subString
- TextArrayToTextString
- TextListCollector
- tokenize
- toLower
- toString
- toUpper
- trim
- urlDecode
- tenant
- util
- xml
-
pub
-
middleware
- User Guide
- FAQs
- Java Docs
- Blogs
Building API using Conditional Logic
In this web service, we are sending the country name as a request and getting the capital of that country in response using the Syncloop Platform.
Login into the Syncloop Development Platform and let us start creating that Service.
Right Click on Package root in the package explorer window and select New Package
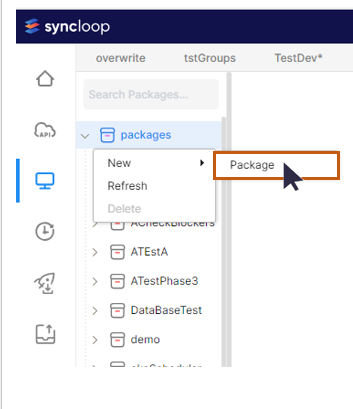
A Package dialog box will appear.
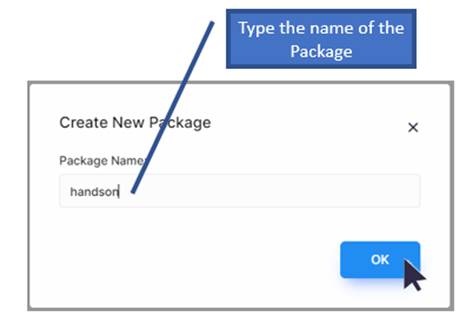
In the Package Name Text-Box, type the name of the package as hands-on and click on OK Button.
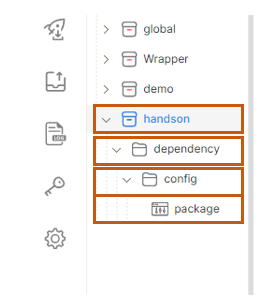
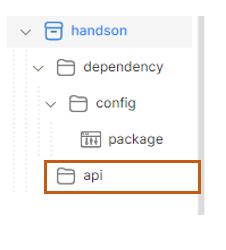
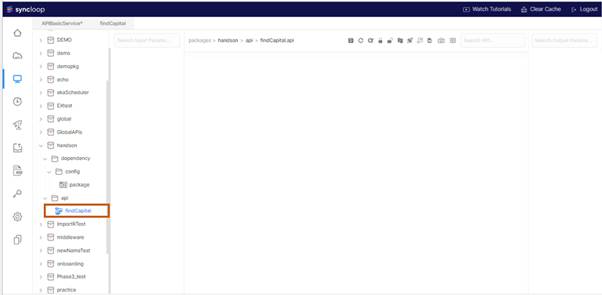
Package handson will be created in the package explorer with one dependency folder, a child folder config, and a default child package. Now Right-Click on the handson package and create a new folder api. Type the name of the folder and click the button OK.
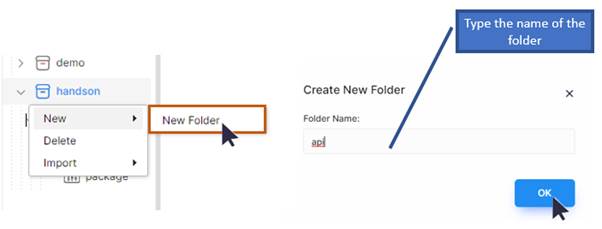
A new folder named api will be created under the handson folder.
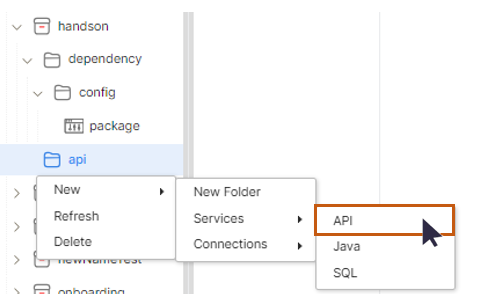
Right-Click on the api folder select New 🡪 Services and click on API and create a new Service.
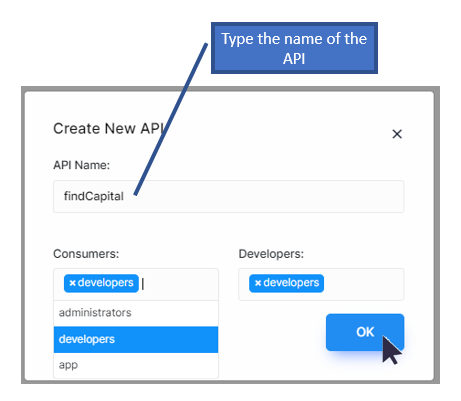
A Create New API dialog box will appear. Click on the API Name text box and type findCapital, select the developer groups for Consumers and Developers click on the OK button.
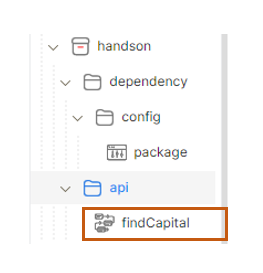
A API named findCapital will be created.
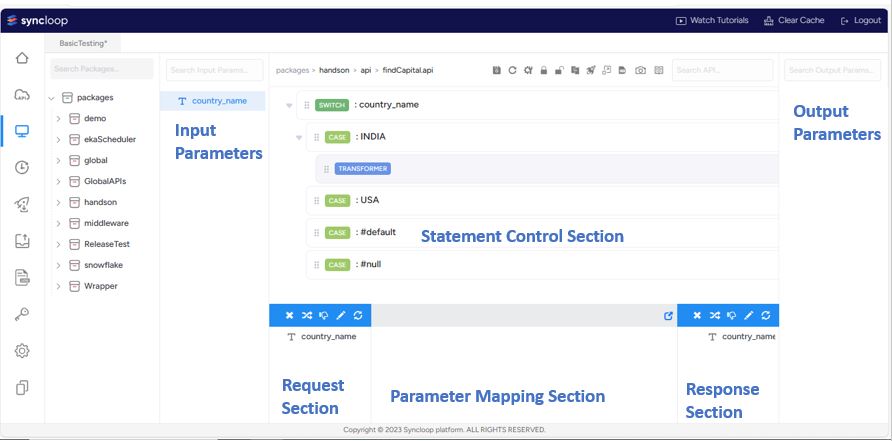
Double Click on findCapital API and visualize the workspace on the right side of the development environment.
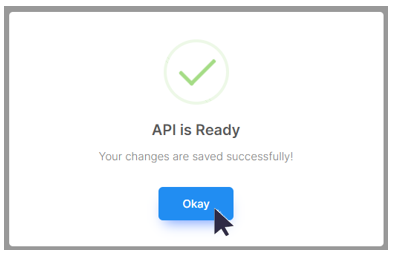
The details of the workspace environment have already been shown in the Quick Start Document. Click save to save the web service.

A message dialog box will appear confirming the save operation.
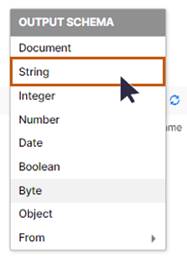
Going ahead in creating the API by creating an input parameter by right-clicking on the input parameter section and selecting String
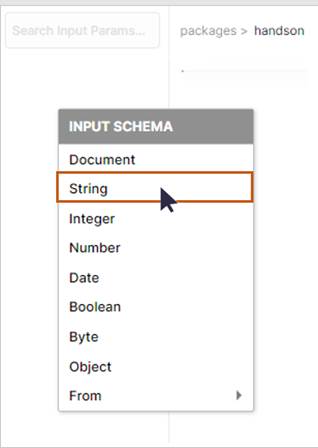
An input parameter String named STRING will be created in the Input Parameter Section of the workspace.
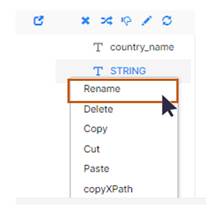
Right-click on the input parameter STRING and select rename and rename it as country_name
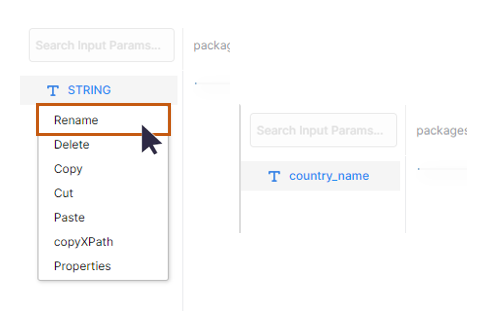
The input parameter is renamed to country_name. This input parameter will be sent by the client and the same parameter will be evaluated for its capital and that will be sent to the requesting client.
Now we are going to create the switch statement on the workspace. Right-Click on the Statement Control Section of the workspace, an API DESIGNER context menu will appear. Select Switch from the context menu.
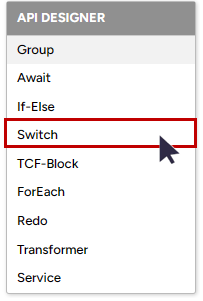
A structure of the Switch statement will be created in the Statement Control Section of the Workspace.

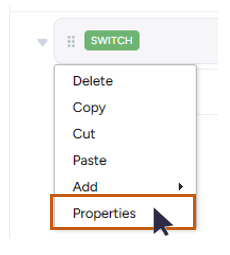
Right-Click on the SWITCH and select the properties
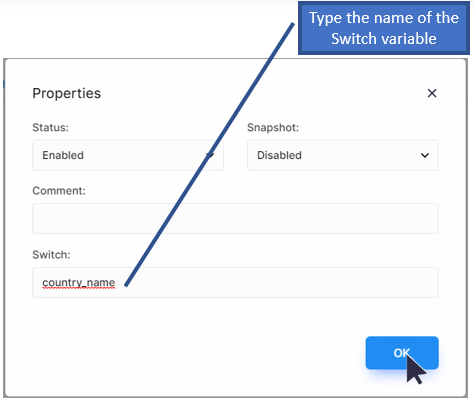
A Properties dialog window will appear. Type the name of the Switch Variable in the Textbox and click the Ok button. Here the switch variable is country_name, therefore type the said variable name in the Switch Textbox.
Now Right-Click on the SWITCH and Select Add 🡪 Case
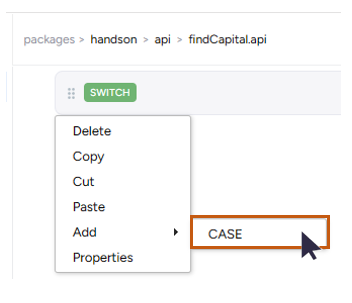
A CASE statement will be added as a child to the SWITCH Statement. Click on the SWITCH to view the
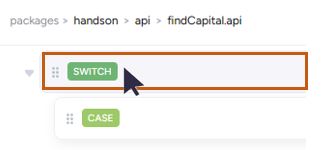
Add four CASEs under the SWITCH by repeating the steps mentioned above.

The four CASEs will be added as a child to the Graphical User Interface (GUI) SWITCH statement.
Click on the Save button in the toolbox of the Workspace

A message dialog box will appear confirming the save operation.
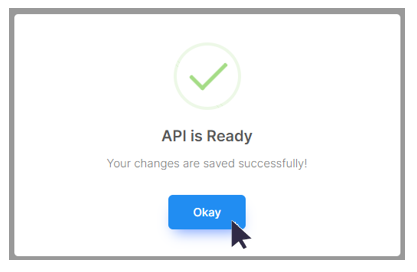
Click the Okay button to complete the save operation.
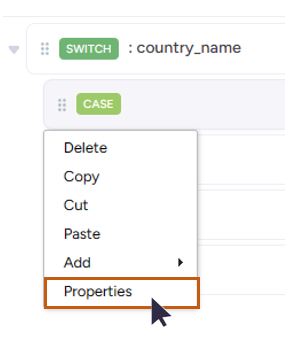
Now populate the cases of the SWITCH by Right-Clicking on the firs CASE and selecting Properties in the context menu strip.
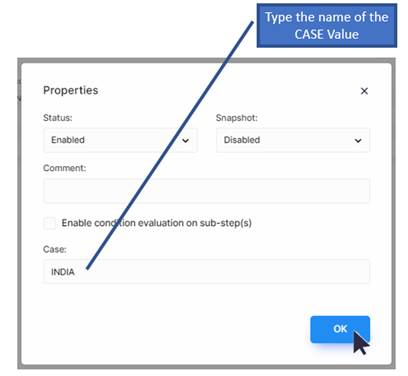
A properties window will appear. Type the name of the CASE value and click the Ok button. Here the value added is INDIA
Repeat the above step and add the CASE value as USA. For handling the default values in the GUI SWITCH Statement enter #default in the third CASE value.

Click on the Ok button to confirm when the case value provided is not specified in the SWITCH statement.
When no value is specified for the input parameter country_name then the CASE value to handle such values is specified as null. This handles empty or null values for the SWITCH statement.
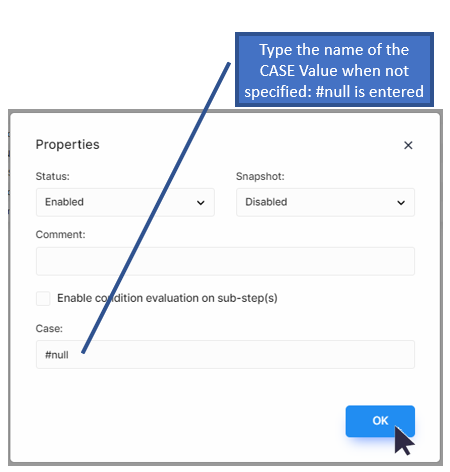
Click on the Ok button to confirm the null value which is specified as #null.
Now the SWITCH-CASE statement is populated with the values.
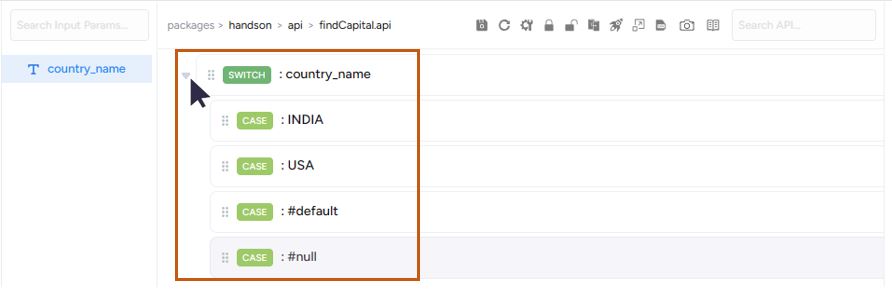
These SWITCH-CASE statement values are viewed in a tree structure.
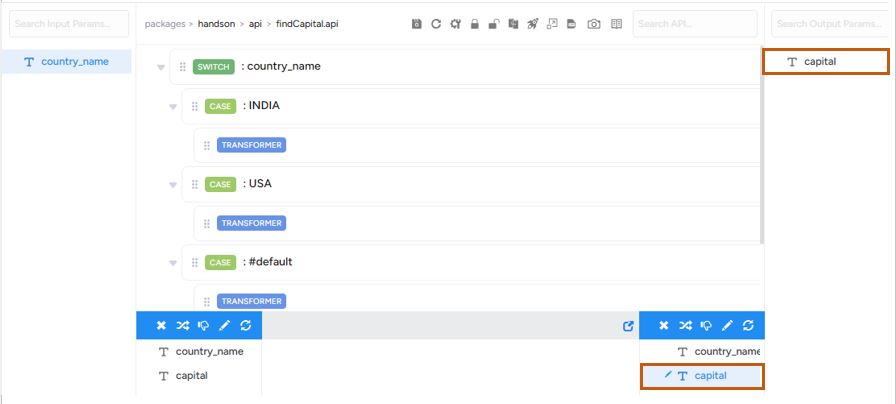
Now mapping is done for input and output parameters. To perform the said operation Right-click on the first CASE: INDIA and select Add 🡪 TRANSFORMER from the context menu strip.
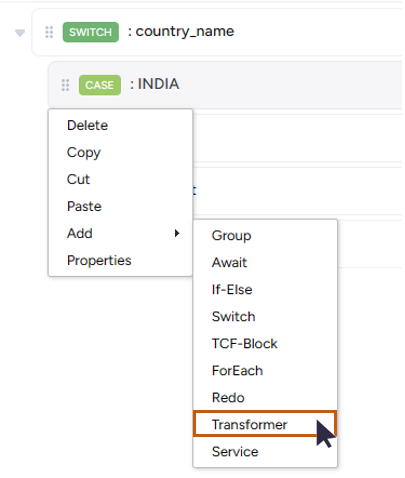
A TRANSFORMER will be created as a child to the first CASE.
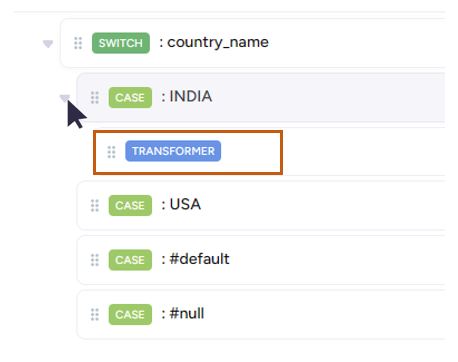
Click on the TRANSFORMER and the input and output parameters will be displayed in the Request and Response section of the Workspace.
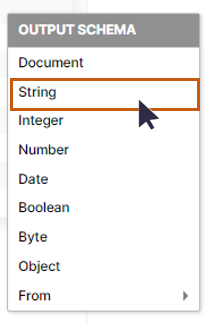
Now Right-Click on the Response Section of the Workspace an Output Schema context menu will be displayed. Select String from the context menu.
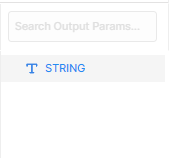
A variable named STRING will be created. Right-Click on the STRING variable and rename it as capital.
Save the web service as specified above.
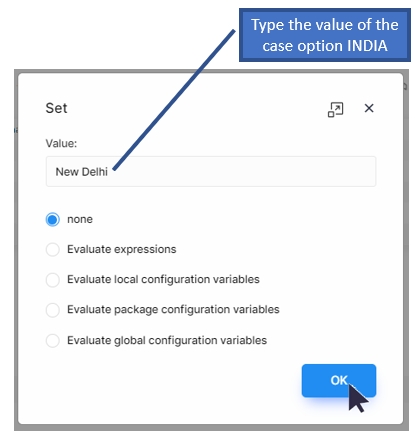
Select on the variable capital and click on the pen toolbar in the Response Section. A Set dialog window will be displayed. Type the name New Delhi in the Set Value Text Box and Click on the Ok button. This value is the capital of India.
Repeat the above steps and assign the value to the capital as shown in the table below
| Case | Value |
| India | New Delhi |
| USA | Washington DC |
| #default | The capital does not exist |
| #null | Enter any Country Name |
Save the changes and Right Click on the Output Parameter Section of the Workspace. An Output Schema context menu will appear. Select String from the context menu.
A STRING variable will be created in the Output Parameter Section.
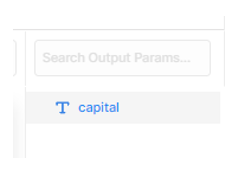
Right-Click on the STRING variable and rename STRING to capital. This capital is the Output Parameter Section that will store the capital of the requested country_name value. The rename operation is already shown above.
The name of the variable capital should be the same as the capital name specified earlier in the Response Section of the Workspace. The capital
Save the API as shown above so that changes are successfully saved.
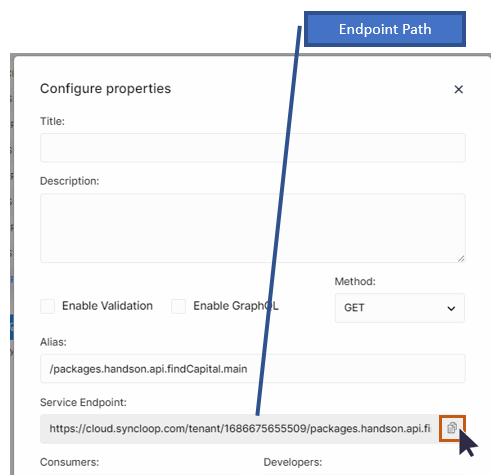
Click on the configuration toolbar in the Workspace to get the endpoint.

A configuration window will appear. Copy the endpoint path specified in the Service endpoint by clicking on Copy icon at the end of the Service Endpoint Textbox.
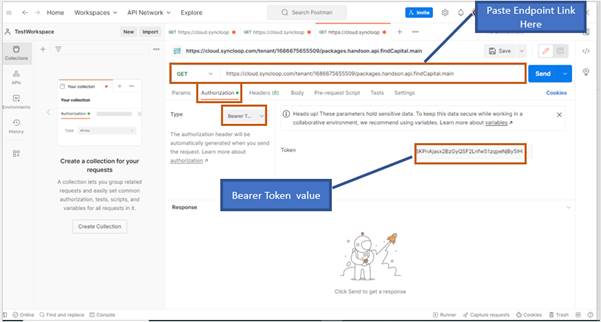
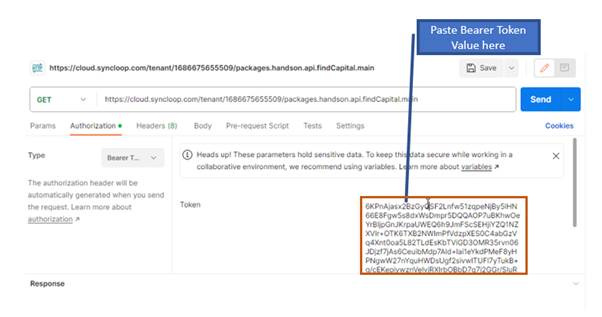
Once the Service Endpoint is copied, open the Postman API testing application and paste the link in the URL. In the postman application, click on the Authorization 🡪 Bearer Token

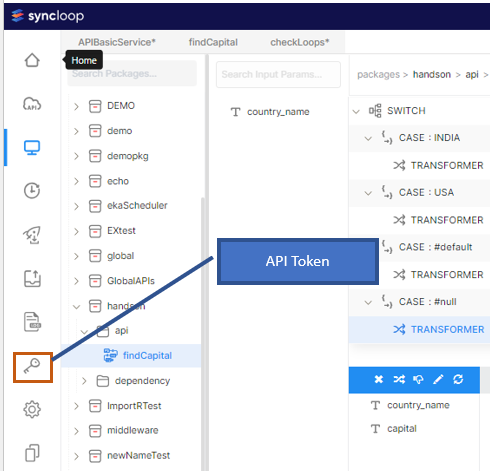
Go to the Syncloop platform and select API token from the side Toolbar.
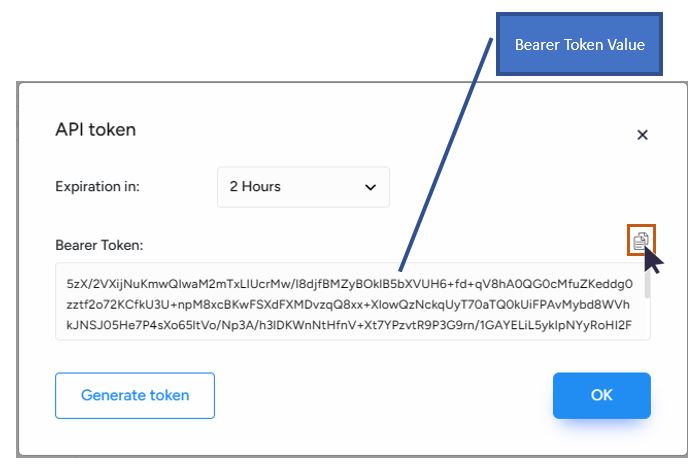
Click on the API Token tool, API Token dialog box will be displayed with a Bearer token value. Copy that bearer token value. Expiration time of the token can also be selected from the Expiration in drop-down list.
Paste the token value from Syncloop Workspace into the bearer token textbox in the Postman Application.
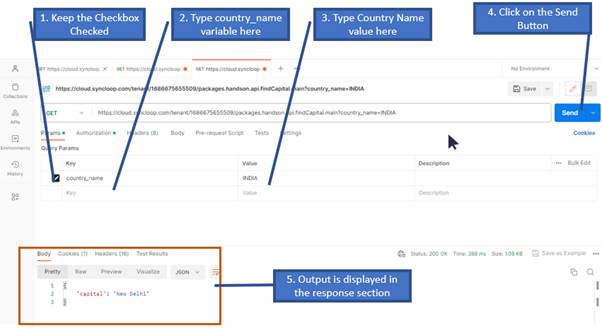
Go back to the params tab in the Postman Application and do the following steps.
- Click the Checkbox
- Write the country_name variable name in the key section
- Write the Country Name value ie. INDIA
- Click on the send button
- The output will be displayed in the Response Section. (here output is New Delhi).
Now Try giving different key values in the Postman app and Observe the Outputs
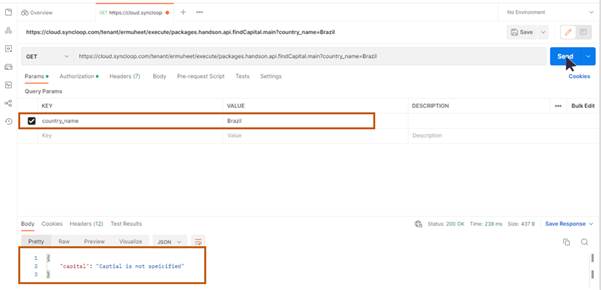
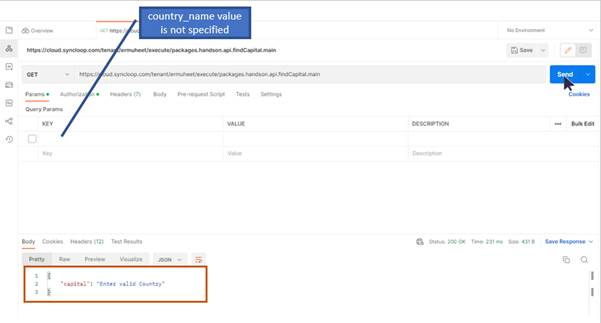
Now try for different inputs and visualize the output. This is how we can implement condition logic using the Switch statement on the Syncloop platform.