A Beginner's Guide to Building RESTful APIs in Syncloop

This guide walks you through the basics of building RESTful APIs using Syncloop, covering essential concepts, step-by-step instructions, and best practices.
What is a RESTful API?
A RESTful API (Representational State Transfer API) is a set of rules and conventions for building APIs that adhere to REST principles. These include:
- Stateless Communication: Each request from a client contains all the necessary information for the server to process it.
- Resource-Based: APIs expose resources (e.g., users, orders) identified by unique URIs.
- HTTP Methods: Standard methods like GET, POST, PUT, and DELETE are used to perform operations on resources.
- Representation: Resources are represented in formats like JSON or XML.
- Client-Server Architecture: Separation between the client and server promotes scalability.
Why Use Syncloop for RESTful API Development?
Syncloop simplifies the process of building RESTful APIs by providing:
- Low-Code Tools: Visual interfaces reduce the need for extensive coding.
- Dynamic Data Mapping: Simplifies data transformation and integration with backend systems.
- Built-In Security: Role-based access control (RBAC), encryption, and authentication protocols.
- Scalability: Handles increasing API traffic seamlessly.
- Real-Time Monitoring: Tools to track API performance and troubleshoot issues.
Step-by-Step Guide to Building RESTful APIs in Syncloop
Step 1: Define Your Resources
Start by identifying the resources your API will expose. For example, in an e-commerce application, resources could include:
- Products
- Orders
- Users
Step 2: Create Your API Project in Syncloop
- Log into Syncloop and create a new API project.
- Choose the "RESTful API" option to set up your project structure.
Step 3: Design Endpoints
- Use Syncloop’s visual designer to create endpoints for your resources.
- Assign HTTP methods to each endpoint:
- GET /products: Retrieve a list of products.
- POST /orders: Create a new order.
- PUT /users/{id}: Update a user's details.
- DELETE /orders/{id}: Delete an order.
Step 4: Configure Data Sources
- Connect your API to a database, third-party service, or internal backend.
- Use Syncloop’s data mapping tools to transform data between your backend and API responses.
Step 5: Implement Authentication
- Enable authentication mechanisms such as API keys, OAuth 2.0, or JWT.
- Configure RBAC to control access to resources based on user roles.
Step 6: Test Your API
- Use Syncloop’s built-in testing tools to validate endpoint functionality.
- Test with sample requests and ensure proper status codes and responses.
Step 7: Deploy and Monitor
- Deploy your API to a staging or production environment.
- Use Syncloop’s monitoring tools to track performance, usage, and errors.
Best Practices for RESTful API Development
- Use Consistent Naming: Follow naming conventions like nouns for resources and avoid verbs in endpoint URLs.
- Adopt HTTP Status Codes: Use standard codes like 200 (OK), 201 (Created), 404 (Not Found), and 500 (Internal Server Error) for responses.
- Implement Pagination: For large datasets, use pagination to limit response sizes.
- Secure Your API: Enforce authentication and use HTTPS for secure communication.
- Version Your API: Include version numbers in your endpoints (e.g., /v1/products) to manage updates without breaking existing clients.
- Document Your API: Use tools like Syncloop’s auto-documentation feature to provide clear and comprehensive API docs.
Example: Building a Simple Product API
Endpoint Definitions
- GET /products
- Retrieves a list of products.
- Query parameters: category, price_range.
- POST /products
- Adds a new product.
- Request body: { "name": "Laptop", "price": 1200 }.
- PUT /products/{id}
- Updates an existing product by ID.
- Request body: { "price": 1100 }.
- DELETE /products/{id}
- Deletes a product by ID.
Implementation Steps
- Create endpoints in Syncloop.
- Map endpoints to a database table using Syncloop’s data mapping tools.
- Test endpoints with sample data.
- Deploy and monitor.
Conclusion
Building RESTful APIs doesn’t have to be complex. Syncloop provides an intuitive platform for beginners and experienced developers alike, enabling you to design, deploy, and manage APIs efficiently. By following best practices and leveraging Syncloop’s tools, you can create scalable and robust APIs that meet modern application needs.
Whether you’re building APIs for e-commerce, SaaS, or IoT, Syncloop simplifies the process and helps you deliver exceptional results.
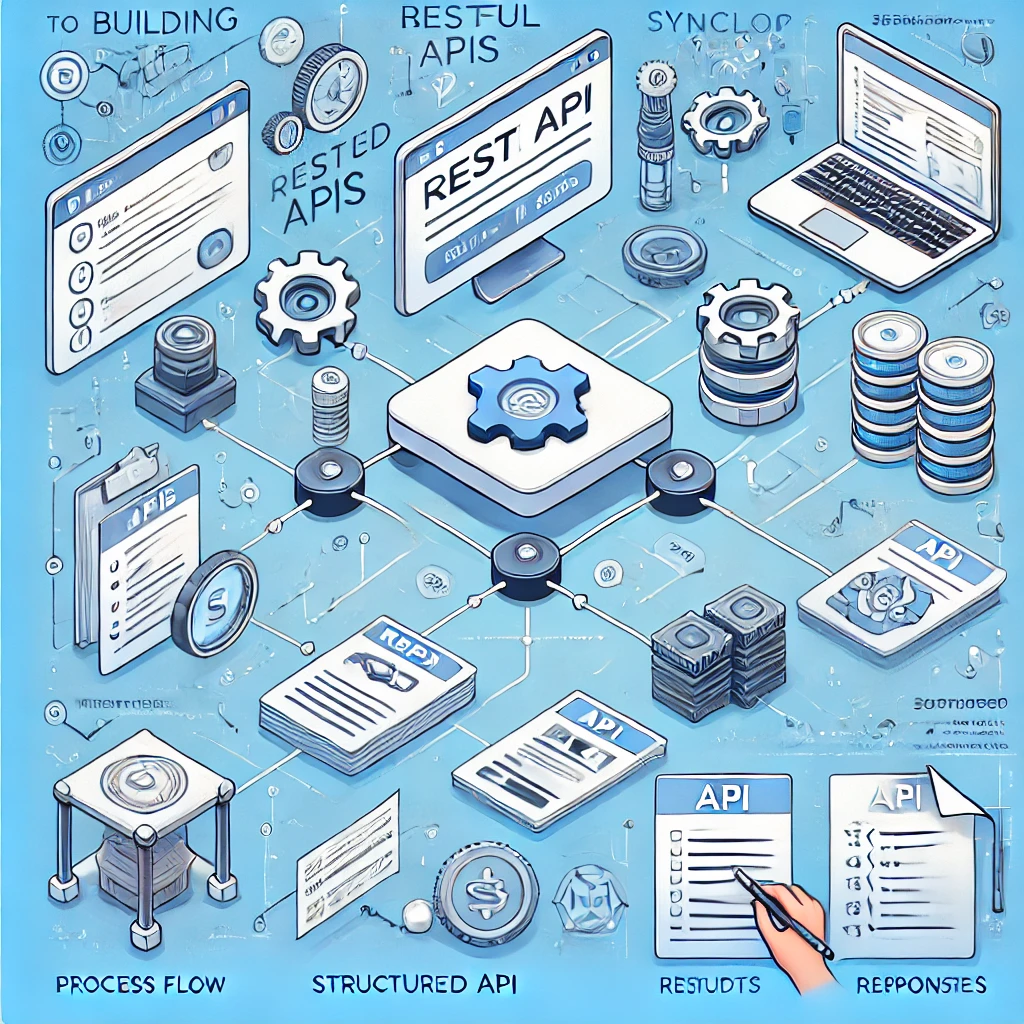
A sleek diagram of a RESTful API workflow built using Syncloop, showcasing endpoints, data mapping, and real-time monitoring.
Back to Blogs